Drawing Kuromi is a blast, and her punk-meets-cute style makes her stand out. It’s no wonder so many people love her. kuromi tekenen can be a fun and rewarding experience.
This guide promises to make it simple. You’ll go from gathering basic supplies to sketching her iconic features. No need to worry if you’re not an artist.
Anyone can follow these steps. We’ll start with the basics and build up. Trust me, drawing is a skill anyone can learn.
So, let’s dive in, and get ready to create something amazing. And remember, it’s all about having fun.
Essential Tools and Key Features to Get Right
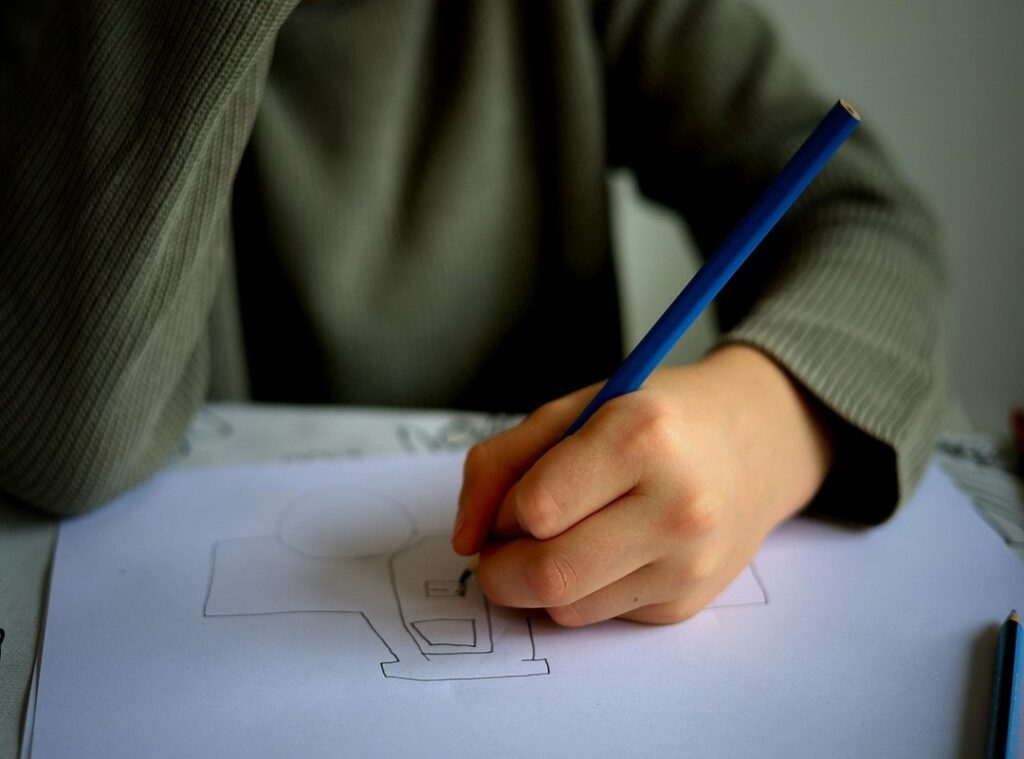
Let’s get real. You don’t need a fancy art studio to start drawing Kuromi. A simple pencil, like an HB or #2, a good eraser, and some plain paper will do just fine.
If you want to add some color, grab some markers or colored pencils.
Before you dive in, take a moment to study Kuromi’s core design elements. Her jester-style hat is iconic, with those floppy ‘ears’ and the prominent pink skull emblem right in the center. It’s what makes her stand out.
Her personality shines through her facial features. Focus on her mischievous, slightly slanted eyes and that signature cheeky grin. These little details are key to capturing her spirit.
Don’t forget about her other key details. The black ruffled collar and the pointy, devil-like tail are crucial for a complete look. They add that extra bit of flair and character.
Here’s a tip: Start with very light pencil strokes. This makes it much easier to correct mistakes without smudging the paper. Trust me, it’s a game-changer.
When you’re ready to tackle kuromi tekenen, remember to keep it fun and relaxed. After all, the best art comes from enjoying the process.
Step-by-Step Guide: Sketching Kuromi’s Head and Face
Let’s dive into kuromi tekenen—drawing Kuromi’s head and face. It’s a fun and rewarding process, especially if you’re a fan of this mischievous character.
- Start with the foundational shape. Draw a large, slightly wide circle to serve as the base for her head.
- Next, guide the jester hat that wraps around the head. Create the two drooping points or ‘ears’ of the hat. Think of them like floppy rabbit ears; they add a playful touch.
- Now, focus on the skull logo on her hat. Begin with a small circle. Add the simple crossbones and facial features. It’s like giving her a mini sidekick right on top of her head.
- Place her eyes within the head circle. Draw them as simple ovals with a small white dot for a highlight. This makes her eyes pop and gives her that spark of mischief.
- For her nose, a small dot or triangle will do. Her characteristic smirk is key. A simple curved line can convey her playful personality. It’s all in the details, just like how a single note can make a song unforgettable.
- Proportions are crucial. Her head and hat make up the majority of her character design. Get these right, and the rest falls into place.
Remember, practice makes perfect. Don’t be too hard on yourself if it doesn’t look exactly right the first time. Just like in The Karate Kid, “Wax on, wax off,” repetition and patience will get you there.
Building the Character: Drawing Kuromi’s Body and Outfit

Now that we’ve got Kuromi’s head down, let’s move on to her body. Her body is much smaller and simpler in comparison, often just a small, rounded shape directly under the head.
First, draw her jagged, ruffled collar. Start by sketching a zig-zag pattern between the head and body. This collar adds a lot of character and helps define the transition from head to body. kuromi tekenen
Next, let’s tackle her simple arms and hands. For simplicity, you can draw them as small mitten-like shapes. This makes it easier to keep the drawing clean and cute.
Don’t forget her thin, devil-like tail. Focus on getting the gentle curve right, and make sure the tip is pointed and arrow-like. This little detail really brings out her mischievous personality.
Finally, make sure all the parts connect smoothly. Erase any overlapping guidelines from the initial head sketch. It’s all about making her look seamless and polished.
Remember, practice makes perfect. Keep at it, and soon you’ll be a pro at kuromi tekenen.
Finishing Touches: Inking, Coloring, and Adding Flair
Inking is where the magic happens. Carefully trace over the final pencil lines with a black pen or fine-liner for a clean, finished look. Don’t rush this step.
Wait for the ink to dry completely before using an eraser to remove all underlying pencil marks.
Kuromi’s official color palette is pretty straightforward. Use black for her hat and collar, a vibrant pink for the skull emblem, and leave her face and body white. This keeps her true to her character and makes your drawing pop.
Adding depth can make your kuromi tekenen stand out. Pro tip: add a little bit of light grey or purple shading under her chin or on the hat. This subtle touch can make the drawing look more three-dimensional.
You’ve Drawn Kuromi! What to Try Next?
Great job on completing your kuromi tekenen ! It’s a wonderful achievement, and remember, every artist improves through practice.
Try drawing her again to build even more confidence.
Why not experiment with different facial expressions? Imagine Kuromi winking, looking happy, or even surprised. Each expression adds a new layer of fun and creativity to your artwork.
Once you feel comfortable, challenge yourself by drawing Kuromi in a new pose. Maybe she’s sitting, dancing, or even flying!
If you’re ready for a new character, consider trying My Melody or Cinnamoroll. They are both popular Sanrio characters that can keep your artistic journey exciting and full of variety.
 Shirley Farreliona is a passionate travel writer sharing practical tips, cultural insights, and inspiring stories that help travelers explore destinations smarter.